
What Happens During a New Garage Door Installation? A Walkthrough for Homeowners

At Longview Garage Doors, one of our most memorable projects involved a growing family in White Oak, TX. They had recently moved into a charming home with an old garage door that creaked, stuck, and lacked insulation. Our team replaced it with a sleek, insulated steel garage door equipped with a smart opener and safety sensors. The transformation improved their curb appeal, increased energy efficiency, and provided peace of mind with modern security features. They called it “the best home upgrade yet.”
Statistics back up stories like theirs. According to the 2024 Cost vs. Value Report, a new garage door installation delivers an average return on investment (ROI) of 93% at resale. It’s not just a facelift for your home’s exterior, it’s a value-adding, energy-efficient, and safety-enhancing project that pays off.
If you’re planning a garage door replacement or installation, it helps to understand the process. From choosing materials and door types to installing tracks and testing openers, there’s a lot that goes into ensuring smooth operation and safe performance. In this comprehensive guide, we’ll walk you through every step of a new garage door installation so you can make informed decisions for your home.
Understanding the Importance of Proper Garage Door Installation
Installing a new garage door isn’t just about swapping an old door for a new one. It’s a detailed process that involves various technical, mechanical, and safety considerations. A properly installed garage door ensures:
- Smooth operation of the drive carriage and screw drive systems
- Safe operation with properly tensioned springs and functioning safety sensors
- Enhanced energy efficiency with insulated panels and a sealed door frame
- Improved security using advanced garage door openers with remote access
- Increased curb appeal with modern designs and decorative hardware
In addition to the mechanical aspects, proper installation ensures that the garage door panels are well-aligned, which helps reduce wear and tear on the moving parts. It also ensures that weather stripping seals the garage from outdoor elements, contributing to energy savings and comfort inside your garage and adjacent rooms.
This installation process includes a sequence of carefully coordinated steps, using various materials, specialized tools, and trained professionals to ensure long-term durability and safety.
Step 1: Pre-Installation Assessment and Planning
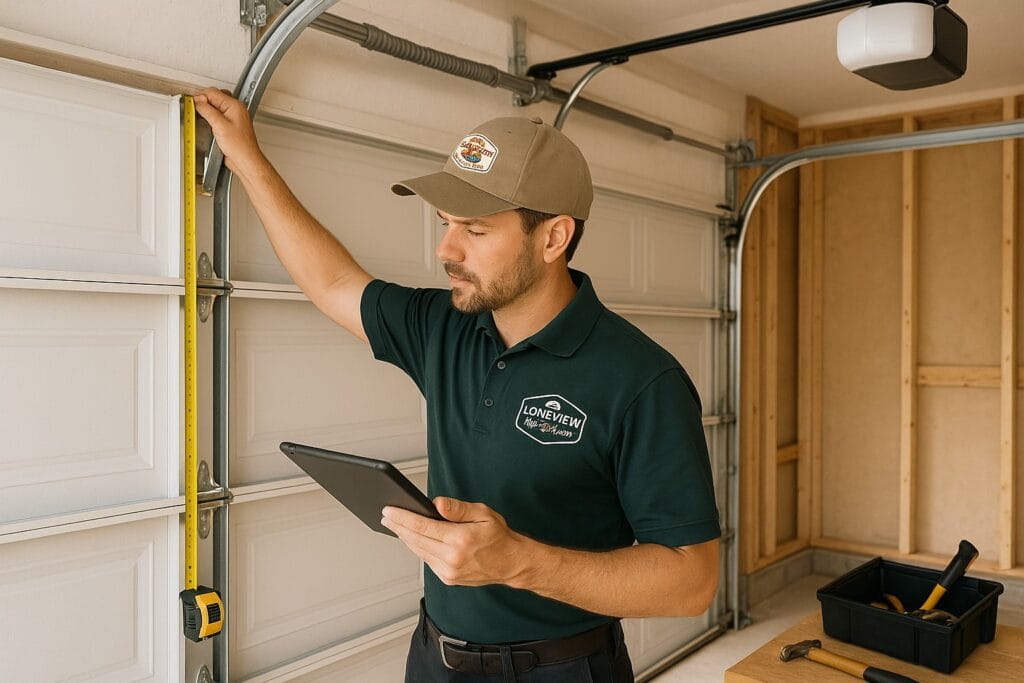
Site Inspection
The installation process begins with a professional on-site inspection. Our garage door experts assess your garage dimensions, door frame condition, ceiling height, available backroom and side room, and current garage door opener setup. The type and condition of the existing tracks and springs are also evaluated to determine whether a full replacement is needed.
We look for:
- Structural integrity of the header and jambs
- Whether the floor is level for proper bottom panel sealing
- Any modifications required to support the new door’s weight and size
- The current electrical wiring setup for the opener installation
A site inspection also allows our technicians to take accurate measurements and evaluate any custom design needs. We check for potential obstructions in the garage and ensure your garage door system will meet all local building codes and safety requirements.
Choosing the Right Garage Door
Next comes choosing the right garage door for your home. We help you select from various types and styles:
- Steel doors: Durable, low-maintenance, and energy-efficient
- Wood doors: Beautiful and customizable, though heavier
- Aluminum and glass doors: Ideal for modern aesthetics
- Roll-up doors: Space-saving, especially for smaller garages or commercial spaces
Additional features to consider include:
- Insulation options: Polystyrene or polyurethane for better R-value and temperature control
- Panel styles: Flush, raised panel, carriage house, or full-view glass
- Color and finish: Match your home’s exterior for cohesive curb appeal
- Decorative hardware: Add hinges, handles, and overlays for style
- Safety features: Include pinch-resistant panels, tamper-resistant brackets, and durable torsion springs
We also discuss garage door openers, safety features, and smart integration, including brands like Chamberlain, Genie, and Stanley garage door openers. Choosing the right garage door is essential for both aesthetics and functionality.
Step 2: Removal of the Old Garage Door
Taking down an old garage door involves more than just unscrewing panels. Our trained technicians start by disconnecting the garage door opener and releasing tension from the torsion or extension springs. Safety is crucial, as improper handling can lead to severe injury.
Once the springs are safely deactivated, we:
- Remove the door panels starting from the top down
- Detach the old tracks and brackets
- Clear out the old hardware and worn-out insulation
All parts are either recycled or disposed of in an eco-friendly manner. Removing the old door allows us to start fresh and ensure all components are compatible with your new garage door system.
If the existing door frame or structural elements have deteriorated, we recommend necessary repairs or reinforcements to ensure the new installation is stable and long-lasting.
Step 3: Installing New Tracks and Hardware
With the old door removed, our team installs a new track system specifically designed for your selected garage door. The tracks must be level, aligned, and anchored properly to support the door’s weight and ensure smooth operation.
This step includes:
- Mounting vertical and horizontal tracks to the door frame and ceiling joists
- Securing steel angle brackets, hardware plates, and reinforcements
- Attaching heavy-duty hinges, rollers, and struts to distribute weight evenly
We ensure the tracks are precisely plumb and level, which is critical for smooth door movement. Misaligned tracks can cause loud operation, uneven wear, or even derailment.
Step 4: Panel Installation
Each garage door panel is installed starting from the bottom panel and working upward. The alignment of these panels is critical for both appearance and function.
We:
- Fit weather stripping along the bottom panel for a tight seal
- Install rollers into the panel brackets
- Align panels in the track and secure them with hinges
- Add reinforcement struts to prevent panel warping over time
For insulated doors, the integrity of the insulation inside the panels is maintained to achieve optimal R-value, reducing energy consumption and helping conserve energy in your home.
Proper panel installation also ensures that the door opens and closes smoothly, without gaps or misalignment. We use durable materials and weather-resistant finishes to withstand Longview’s climate.
Step 5: Installing the Spring System and Cables
The spring system is vital for balancing the weight of the garage door. A properly balanced door allows for smooth operation and reduces strain on the opener. We choose between two spring types:
- Torsion springs: Mounted above the door, ideal for larger and heavier doors
- Extension springs: Located on the sides, used in lighter door applications
Our installation team:
- Installs the appropriate spring system based on door size and weight
- Adds safety cables to prevent spring failure accidents
- Lubricates the springs and pulleys for smooth movement
Proper spring tensioning is critical for safe operation, and our installers make fine-tuned adjustments to ensure optimal balance.
We also check the shaft bearings and anchor brackets to ensure the system is securely mounted and free of defects. Springs play a vital role in the lifespan of your garage door system, so we use only high-cycle, heavy-duty materials for longevity.
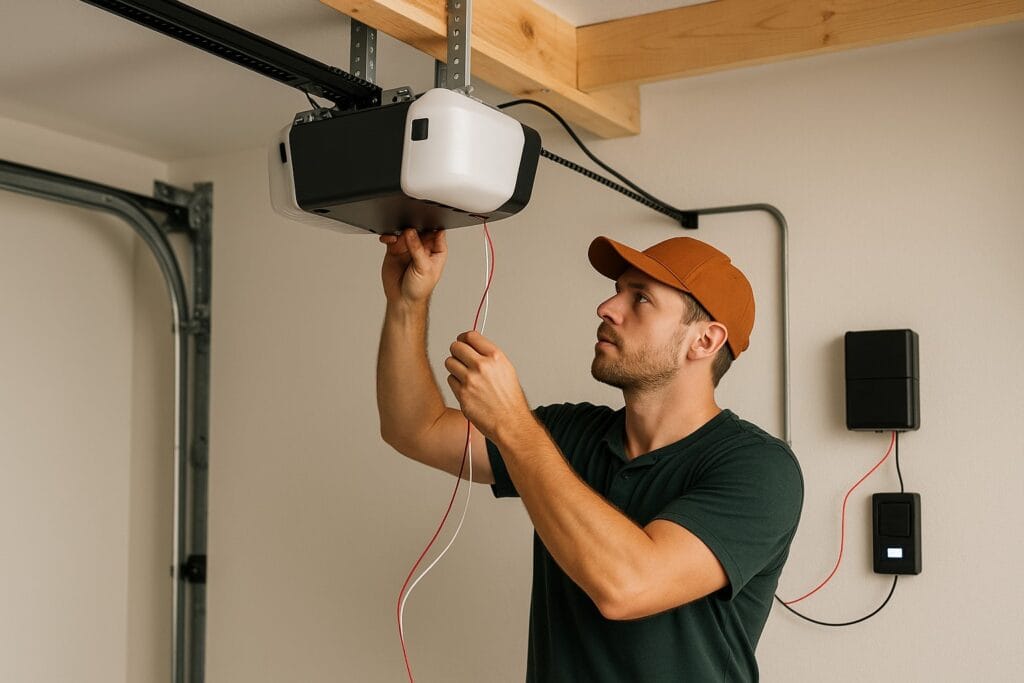
Step 6: Opener Installation and Integration
Whether you’re using your existing opener or upgrading to a new garage door opener, this step connects your garage door system to power and control.
Steps include:
- Mounting the motor unit to the ceiling rafters or joists
- Assembling and attaching the rail, trolley, and drive carriage (belt, chain, or screw drive)
- Installing safety sensors at the base of the track
- Connecting wiring to the wall switch, remote access system, and backup battery (if equipped)
Modern openers offer features like:
- Smart connectivity via smartphone apps
- Timed close functions
- Vacation mode for added security
- Battery backup for power outages
- LED lighting and soft start/stop functions
We also ensure the opener is integrated with your home’s electrical system safely and cleanly. If you’re installing a powerlift system or upgrading to a wall-mounted jackshaft opener, we take care of all wiring, mounting, and programming.
Step 7: Final Testing, Calibration, and Safety Checks
With everything installed, we conduct a series of safety and performance tests to ensure your garage door system operates correctly.
We:
- Check the door balance and spring tension
- Test the safety sensors for obstruction detection
- Adjust force settings to prevent accidental damage or injury
- Calibrate opener limits for smooth open/close cycles
- Verify wireless remote range and keypad programming
Our technicians go through a comprehensive checklist to make sure every moving part is secure and properly lubricated. We also test emergency release features to make sure you can operate the door manually in case of power failure.
Step 8: Clean-Up, Walkthrough, and Customer Education
We’re not done until your garage looks better than before. Our team removes all old parts, packaging, and debris. We provide a final walkthrough and demonstrate how to:
- Operate the door manually during a power outage
- Use smart features and remote access tools
- Perform basic maintenance tasks like lubricating tracks and hinges
- Set reminders for professional tune-ups
You’ll also receive:
- Warranty documentation for parts and labor
- A maintenance checklist
- Recommendations for regular inspections and upkeep
We take time to answer all your questions and provide tips on how to keep your new door in top condition for years to come.
How Long Does a Garage Door Installation Take?
In most cases, a garage door installation takes 4 to 6 hours. However, installation time depends on:
- Door type and material (steel, wood, fiberglass, etc.)
- Number of door panels and size (single or double)
- Opener integration and wiring
- Condition of the existing door frame and tracks
- Weather conditions and custom features
For larger or more complex projects, such as double doors with multiple openers or smart integrations, installation may extend to a full day. We always provide a realistic estimate before the project begins.
Our team also offers flexible scheduling and weekend appointments for your convenience.
Professional Installation vs. DIY: What You Need to Know
Attempting a DIY garage door installation may seem like a cost-saving option, but it carries significant risks. Improper installation of springs, tracks, or opener systems can lead to serious injury or property damage.
Professional installation ensures:
- Proper alignment of door panels and tracks
- Secure mounting of spring systems and brackets
- Compliance with safety standards and building codes
- Validity of manufacturer warranties
- Thorough testing and final adjustments
At Longview Garage Doors, our trained technicians handle every step efficiently, saving you time, hassle, and potential rework.
DIY installations often result in callbacks or costly repairs, especially if components are incorrectly installed or incompatible.
Pre-Installation Checklist for Homeowners
To prepare for installation day, here are a few simple tasks that make the process easier for you and our team:
- Clear the garage of vehicles and storage items
- Ensure access to power outlets and light sources
- Keep children and pets indoors
- Notify us of any planned deliveries or home projects
- Be available for questions or walkthroughs
These small steps help your project run smoothly from start to finish.
If you need help clearing space or have special access needs, let us know in advance and we’ll work with you.
Maintenance Tips to Extend the Life of Your Garage Door
Even the best installation needs regular garage door maintenance. To extend the life of your door system:
- Lubricate rollers, tracks, hinges, and springs every 6 months
- Check the door balance and opener settings monthly
- Inspect weather seals and replace worn strips
- Keep photo-eye safety sensors clean and aligned
- Listen for squeaks, rattles, or grinding during operation
Scheduling a yearly professional inspection can catch problems early and help you conserve energy through proper insulation performance.
We also offer preventative maintenance plans for homeowners who want peace of mind year-round.
Popular Garage Door Styles in Longview, TX
Homeowners in Longview prefer a variety of garage door styles depending on home design and lifestyle. Some popular choices include:
- Traditional raised panel doors for timeless appeal
- Carriage house doors with faux wood finishes and decorative hardware
- Modern flush panel designs with glass insets and minimal framing
- Insulated steel doors to enhance energy efficiency and reduce noise
We help you customize your door’s color, materials, windows, and hardware to match your home perfectly.
Our design consultants use visualization tools to help you see how different garage doors will look on your home before you decide.
How Can Longview Garage Doors Help You?
At Longview Garage Doors, we specialize in comprehensive garage door services tailored to homeowners across Longview, TX, and surrounding communities. Whether you need a new garage door installation, urgent spring replacement, or annual maintenance, we have the skills, tools, and expertise to get it done right.
Why choose us?
- Local, trusted team with years of experience
- High-quality materials and leading brands
- Fully insured and trained installation team
- Fast turnaround with same-day services available
- Smart door integrations for today’s connected homes
- Competitive pricing and transparent labor costs
Ready to enhance your home’s appearance, safety, and energy efficiency?
🏠 Visit us: 106 Village Dr, Longview, TX 75605
📞 Call us now: (430) 227-7005
📆 Schedule online: Convenient booking options available 24/7
Longview Garage Doors is here to ensure your next garage door project is a success, from the first panel to the final adjustment. Let us help you open the door to a better home!
Frequently Asked Questions (FAQs)
How much does a new garage door installation typically cost?
The cost of a new garage door installation can range from $800 to $4,000, depending on the size, materials, insulation, and opener type.
What is the most energy-efficient type of garage door?
Insulated steel garage doors with polyurethane foam cores offer the highest R-values, making them the most energy-efficient option for temperature control and noise reduction.
How do I know when it’s time to replace my garage door instead of repairing it?
If your garage door has cracked panels, frequent malfunctions, outdated safety features, or visible rust, a replacement is usually more cost-effective and safer.
Can I schedule a garage door installation during winter?
Yes, professional installers can perform garage door installations year-round, although extreme temperatures may slightly affect timing and sealant application.